Fight prep
Mina the Hollower Boss Order and Fight Notes
Mina the Hollower boss prep notes for resources, burrow timing, trinket choices, safe weapons, and learning fights cleanly.
Quick Answer
Boss fights should be approached as pattern learning first and damage races second. Enter with resources spent wisely, a trinket setup that answers the fight's main threat, and a weapon that can punish safely. Yacht Club has discussed more than 25 bosses and mini-bosses, so preparation habits matter more than memorizing a count.
At a glance
Best for
Boss order, boss preparation, survival habits, and fight strategy.
Start with
Taking damage before the fight
Next step
Use range, sidearms, or a defensive trinket to create space.
Detailed Breakdown
Mina the Hollower's bosses sit inside a world that already pressures movement, hazards, and resource discipline. That means a boss attempt starts before the arena door. Arriving with low health, the wrong trinkets, or no sidearm energy turns a learnable fight into noise, because the player spends the attempt surviving the setup rather than reading the pattern.
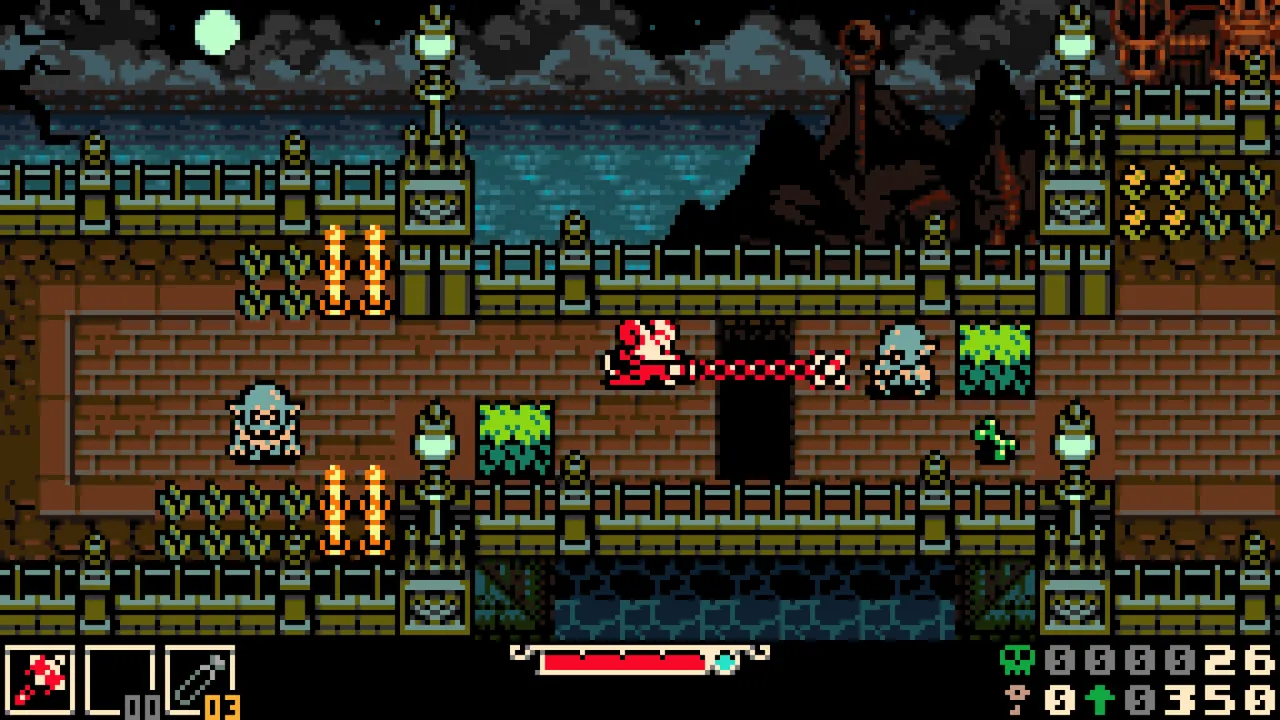
The core fight rhythm is simple but demanding: observe the attack shape, burrow or move before the danger reaches Mina, punish once, then reset. Greedy double hits are where many attempts collapse. A boss with a large punish window can tempt aggressive play, but Mina's combat is harsh when recovery timing and incoming attacks overlap.
Yacht Club has publicly described more than 25 bosses and mini-bosses, which signals a long runway of encounters. A guide should therefore teach repeatable fight habits: what to check before entering, how to identify the main threat, when to change trinkets, and when a weapon is failing because of range rather than player execution.
Fight problem
Taking damage before the fight
Adjustment
Improve route safety before another attempt.
Why it matters
A weak arena entry makes later phases harder to learn.
Risk
Extra preparation slows immediate rematches.
Fight problem
Cannot find healing time
Adjustment
Use range, sidearms, or a defensive trinket to create space.
Why it matters
Healing only matters if the fight provides a safe window.
Risk
Lower damage can extend the fight.
Fight problem
Whiffing punish windows
Adjustment
Swap to a weapon with clearer recovery.
Why it matters
Consistent hits beat theoretical burst during pattern learning.
Risk
A safer weapon may feel less exciting.
Fight problem
Late-phase panic
Adjustment
Stop chasing damage and count the repeat pattern.
Why it matters
The last phase often punishes greed more than caution.
Risk
Longer attempts demand better focus.
Why It Matters For Players
Boss preparation matters because Mina's death loop can blur the actual lesson. If a player dies while under-upgraded, low on resources, and using a trinket that does not address the fight, the takeaway is unclear. The fight might be hard, the route might be draining too much health, or the build might be solving the wrong problem.
Separating those problems makes progress faster. If damage is consistent but survival fails late, defensive trinkets are the answer. If attacks are readable but punish windows are missed, weapon timing is the issue. If the arena is fine but the run to the arena is expensive, map and save habits need attention before the boss strategy does.
- Spend or bank resources before a suspicious arena.
- Enter with a trinket setup that addresses the fight's clearest threat.
- Use the first attempt to identify attack shapes instead of forcing damage.
- Change weapon only when the punish window is the problem.
- Pause after a death and name the cause before starting the next attempt.

Important Details Players May Miss
Burrowing avoids many threats, but RPG Site's review notes that it does not bypass every attack, hazard, or gap. That distinction is crucial in boss arenas. A late burrow may still fail if the attack checks position differently, lasts longer than expected, or covers the exit point.
Sidearms should be reserved for solving fight geometry. If a boss spends time outside safe melee range, a projectile or defensive sidearm can keep pressure without forcing bad positioning. If the boss is always reachable, sidearm energy may be better saved for emergencies or route recovery.
Some players will be tempted to grind as soon as a boss blocks progress. Grinding can help, but it should follow diagnosis. Extra stats cannot fix a habit of attacking into unsafe recovery, and more damage does not teach the final pattern if the setup never reaches it cleanly.

Current Unknowns And Caveats
A precise boss order should avoid spoiling late routes and should not be treated as stable until the final release route is documented across platforms. Public sources confirm a large boss roster, but they do not replace player-facing route context.
Names, phase details, and optional encounter timing can also be patch-sensitive. The safest page structure is to keep fight advice practical: recommended preparation, main threat, common death cause, and a spoiler-light route note.
Editorial Takeaway
Mina's bosses work best when treated as exams on the systems learned in the surrounding route. The player who arrives with a clean build, a clear plan, and a willingness to survive one more pattern before attacking will progress faster than the player trying to overpower every arena on instinct.